As an Amazon Associate I earn from qualifying purchases.

It’s not a secret that pressure cookers have a decades-old, dubious reputation regarding safety. However, today’s modern appliances with primary and secondary valves and safety lids that open only after the pressure has been released have been game-changers. Plus, they have many automatic shut-down mechanisms that prevent them from overheating.
Overall, modern pressure cookers are loaded with safety features. However, knowing how to open your pressure cooker properly is still important, so we’ll share a quick guide.
When Is It Safe to Open a Pressure Cooker?
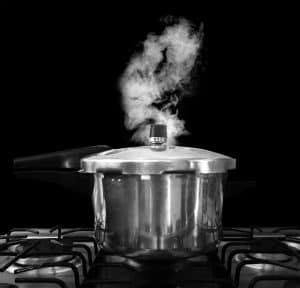
To safely open a pressure cooker, you first need to know when it’s safe to remove the lid. The pressure change when you open it may cause the gas inside to expand rapidly. Depending on the discrepancy between the pressure inside and outside, the expansion can be mild or cause an explosion-like release.
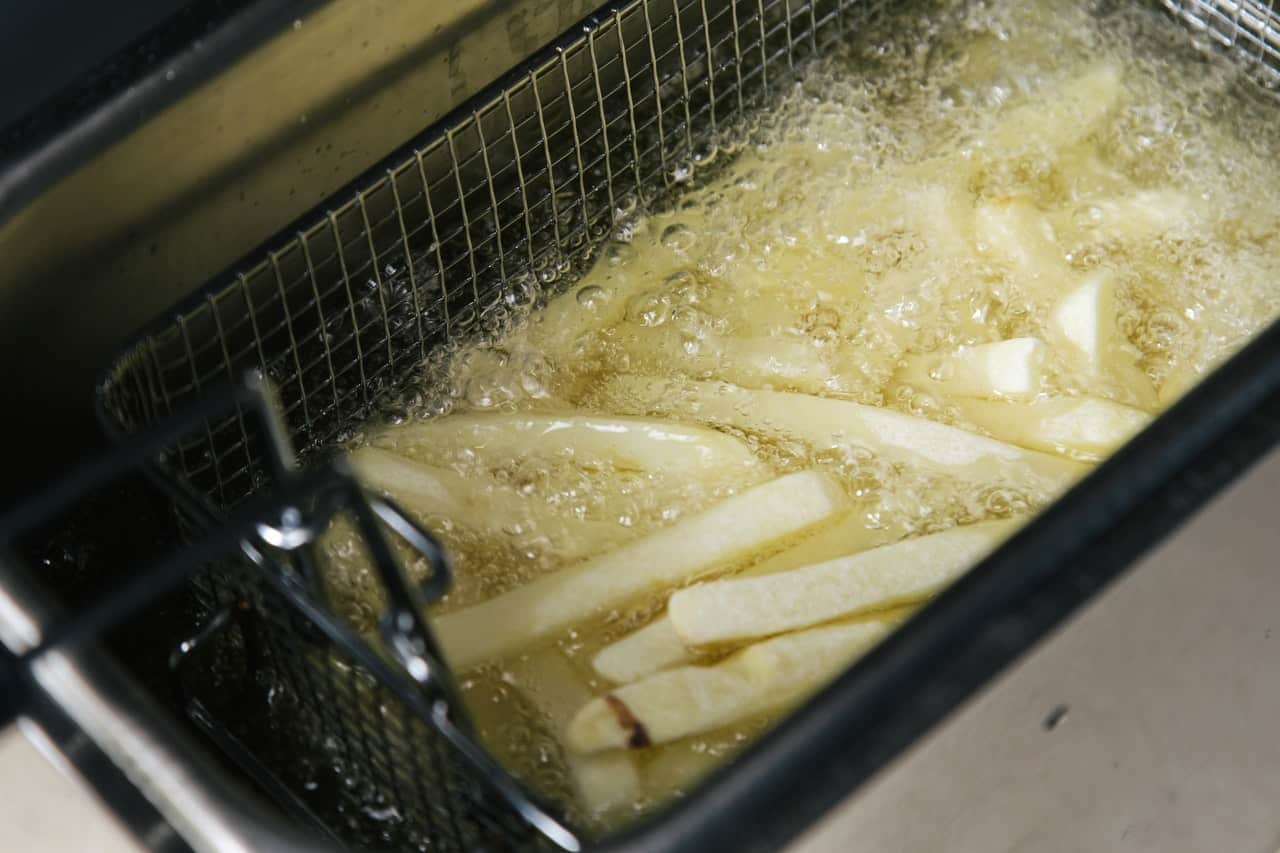
The most dangerous aspect of such an aggressive reaction is that the gasses trying to escape can forcefully eject liquids or food, causing a “violent food eruption.” Keep in mind that the temperature inside the pressure cooker is around 40 degrees higher than the boiling point of water. Such an accident can lead to severe burns.
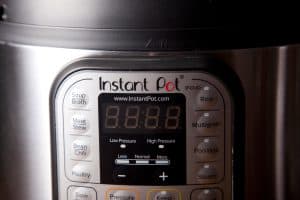
To prevent such a violent reaction, you need to ensure that it’s safe to open the lid. Modern pressure cookers have a visual indicator signaling that the pressure inside the pressure cooker has dropped to a safe level.
What if there’s no indicator of the pressure level?It is very uncommon for modern pressure cookers not to have a pressure level indicator. Still, this may be the case in older models. The general rule of thumb is to remove the pressure cooker from heat and wait for at least 10 to 15 minutes for the pressure to subside before opening it. However, we recommend following the instructions provided by the manufacturer or calling customer support to be on the safe side. |
When you see the visual indicator turn on, it’s time to open the lid. Here are a few of the most common and secure ways of opening pressure cookers.
Pressure Cooker Opening Methods
There are several different ways to open a pressure cooker because the opening method will affect the food’s quality.
Moreover, some methods are more suited to specific food types for safety. It’s not the same if you’re steaming vegetables and legumes, cooking broth, thick meat, or matched potatoes.
Here’s a quick rundown of the six most common opening methods and their characteristics. After this, we’ll go into detail and explain these methods better, focusing on the most popular (not necessarily the safest): natural-release, quick-release, and water-release.
| Method | Speed | Time (Electric Pressure Cookers) | Time (Stovetop Pressure Cookers) | Description |
| Water-Release Method | Very Fast | not applicable | instant (seconds to a minute) | Pouring cold water over the pressure cooker in the sink – not safe! |
| Base Immersion | Very Fast | not applicable | 1-2 minutes | Placing the base of the pressure cooker in cold water – not safe! |
| Quick-Release | Fast | 2-3 minutes | 2-3 minutes | Opening the pressure valve for a quick release of the pressure inside the pressure cooker. |
| Delayed Quick-Release | Somewhat Fast | 5-6 minutes | 5-6 minutes | Opening the pressure valve in time intervals. |
| Combined- Release | Somewhat Slow | 10-15 minutes | 10-15 minutes | Waiting 10 minutes (natural release) then opening the pressure valve. |
| Nature-Release | Slow | up to 30 minutes | 15-20 minutes | Waiting it out until the pressure naturally subsides. |
The food doesn’t immediately stop cooking when you remove the pressure cooker from the stove or turn it off (electric pressure cookers). The food inside will keep cooking until the pressure subsides and the temperature inside cools. So, you need to consider the pressure cooker’s type (model), the kind of food you’re cooking, how filled it is, and the time for each method.
Water-Release and Base Immersion Methods
NOT SAFE
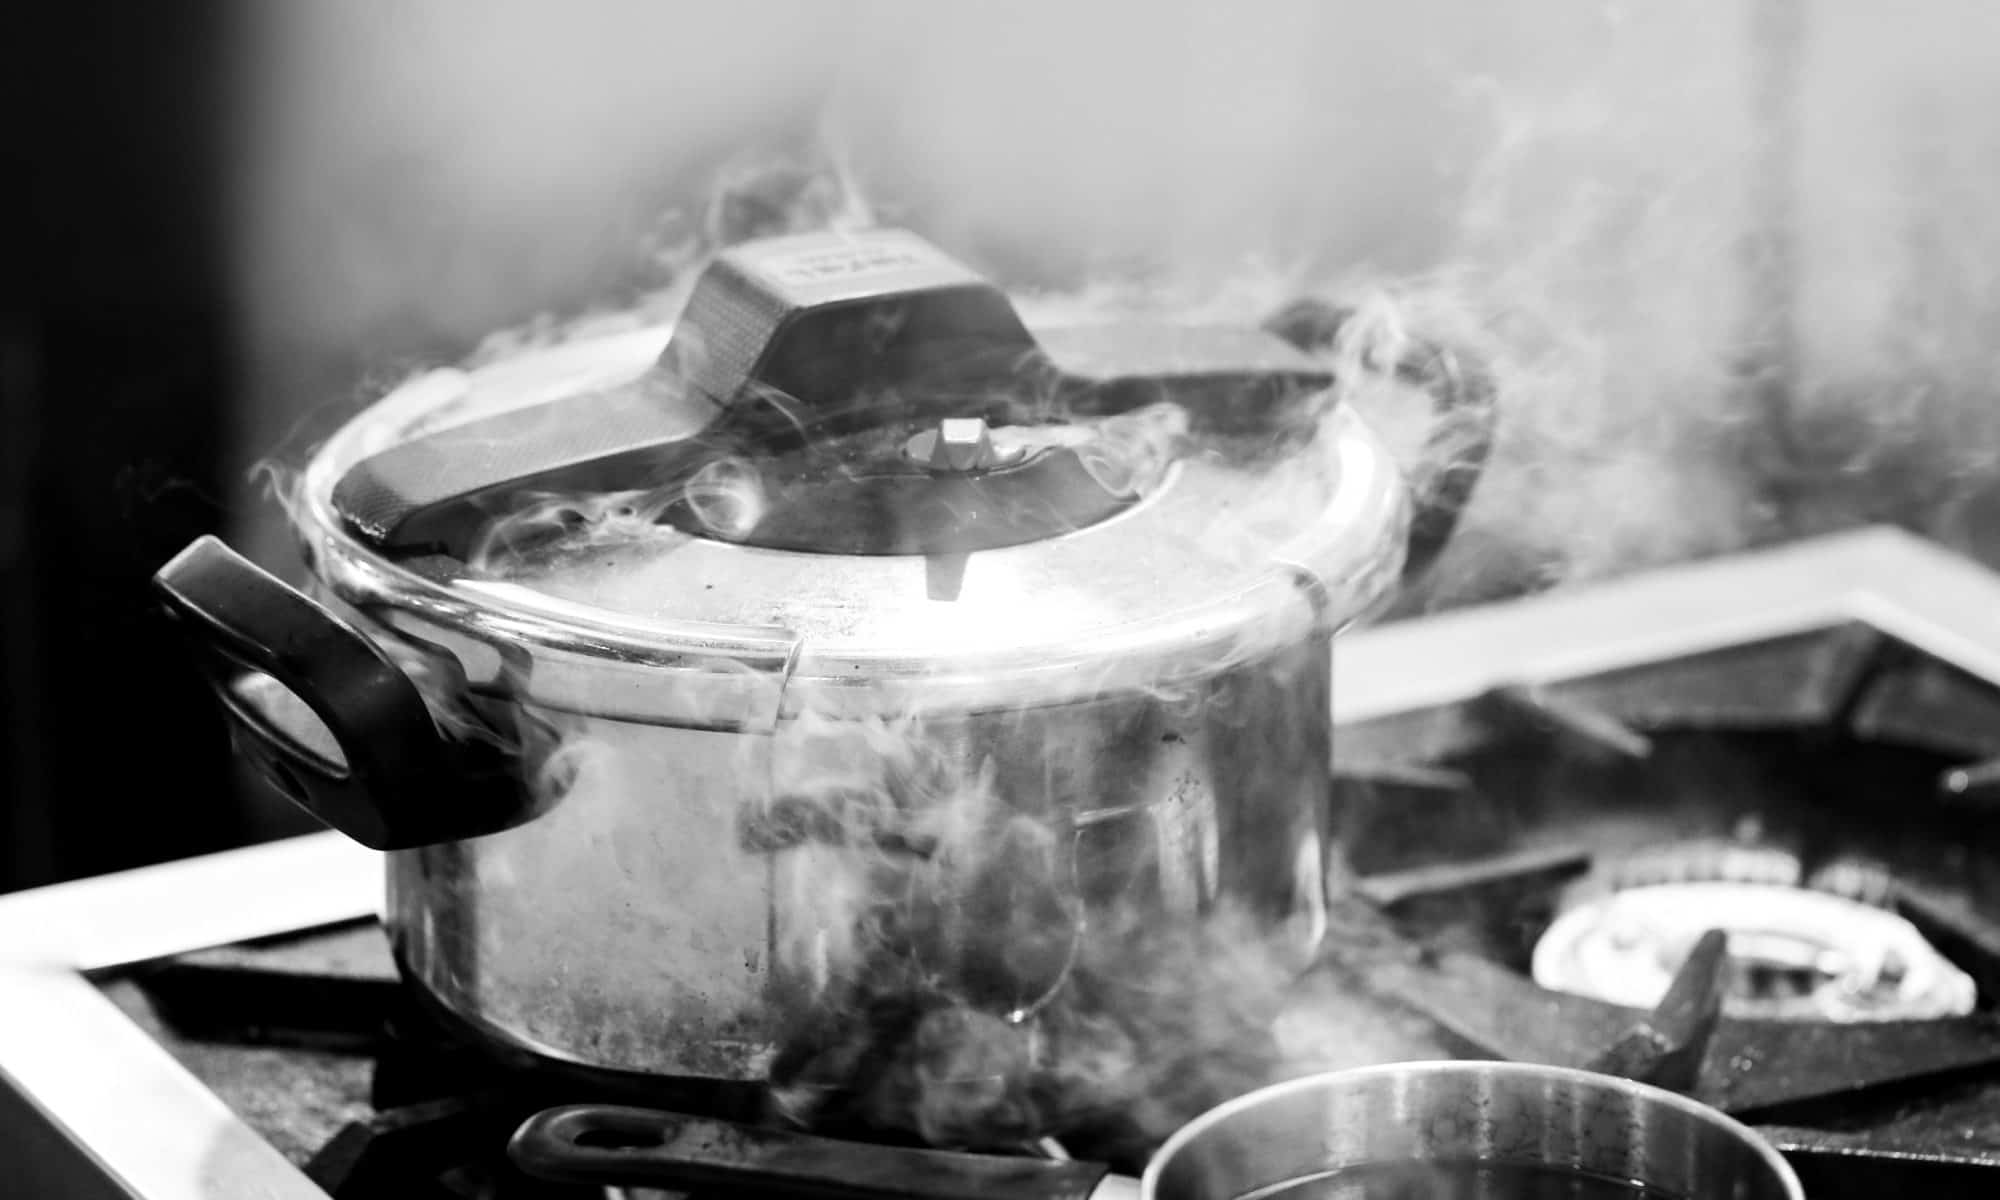
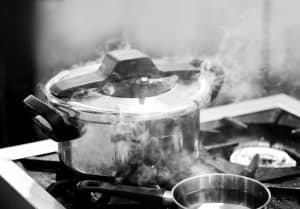
The water-release method and its alternative version, the base immersion method, are two old ways of quickly or almost instantly subsiding pressure inside the pressure cooker.
The technique is relatively simple and consists of carefully removing the pressure cooker from the stove and placing it in the sink under a stream of cold water. In the case of the base immersion method, people submerge the pressure cooker’s base in cold water for a minute before opening the lid.
Both of these methods are used for stovetop pressure cookers only and were invented out of convenience – a quick alternative to the slow (natural) release method when valves were still not a thing.
Nevertheless, we do not recommend opening a pressure cooker with the water-release or base immersion method due to safety concerns.
- Transporting a hot pressure cooker with contents hotter than boiling water from the stovetop to the water sink is incredibly dangerous. You might burn yourself or cause an explosion if you drop it.
- If the pressure cooker has safety and pressure valves – they might be damaged or blocked by the stream of cold water.
- The cold water might damage the metal or aluminum outside the pressure cooker. That compromises the integrity of the whole appliance, making it unsafe for future use.
Important: Do not attempt to cool down electric pressure cookers with cold water as this can damage the appliance and cause explosions.
Conclusion
Although water-release and base immersion methods are frequently used as a quick alternative to the natural release method for stovetop pressure cookers; we do not recommend them as they’re unsafe.
Quick-Release and Delayed Quick-Release Methods
SAFE (with exceptions)
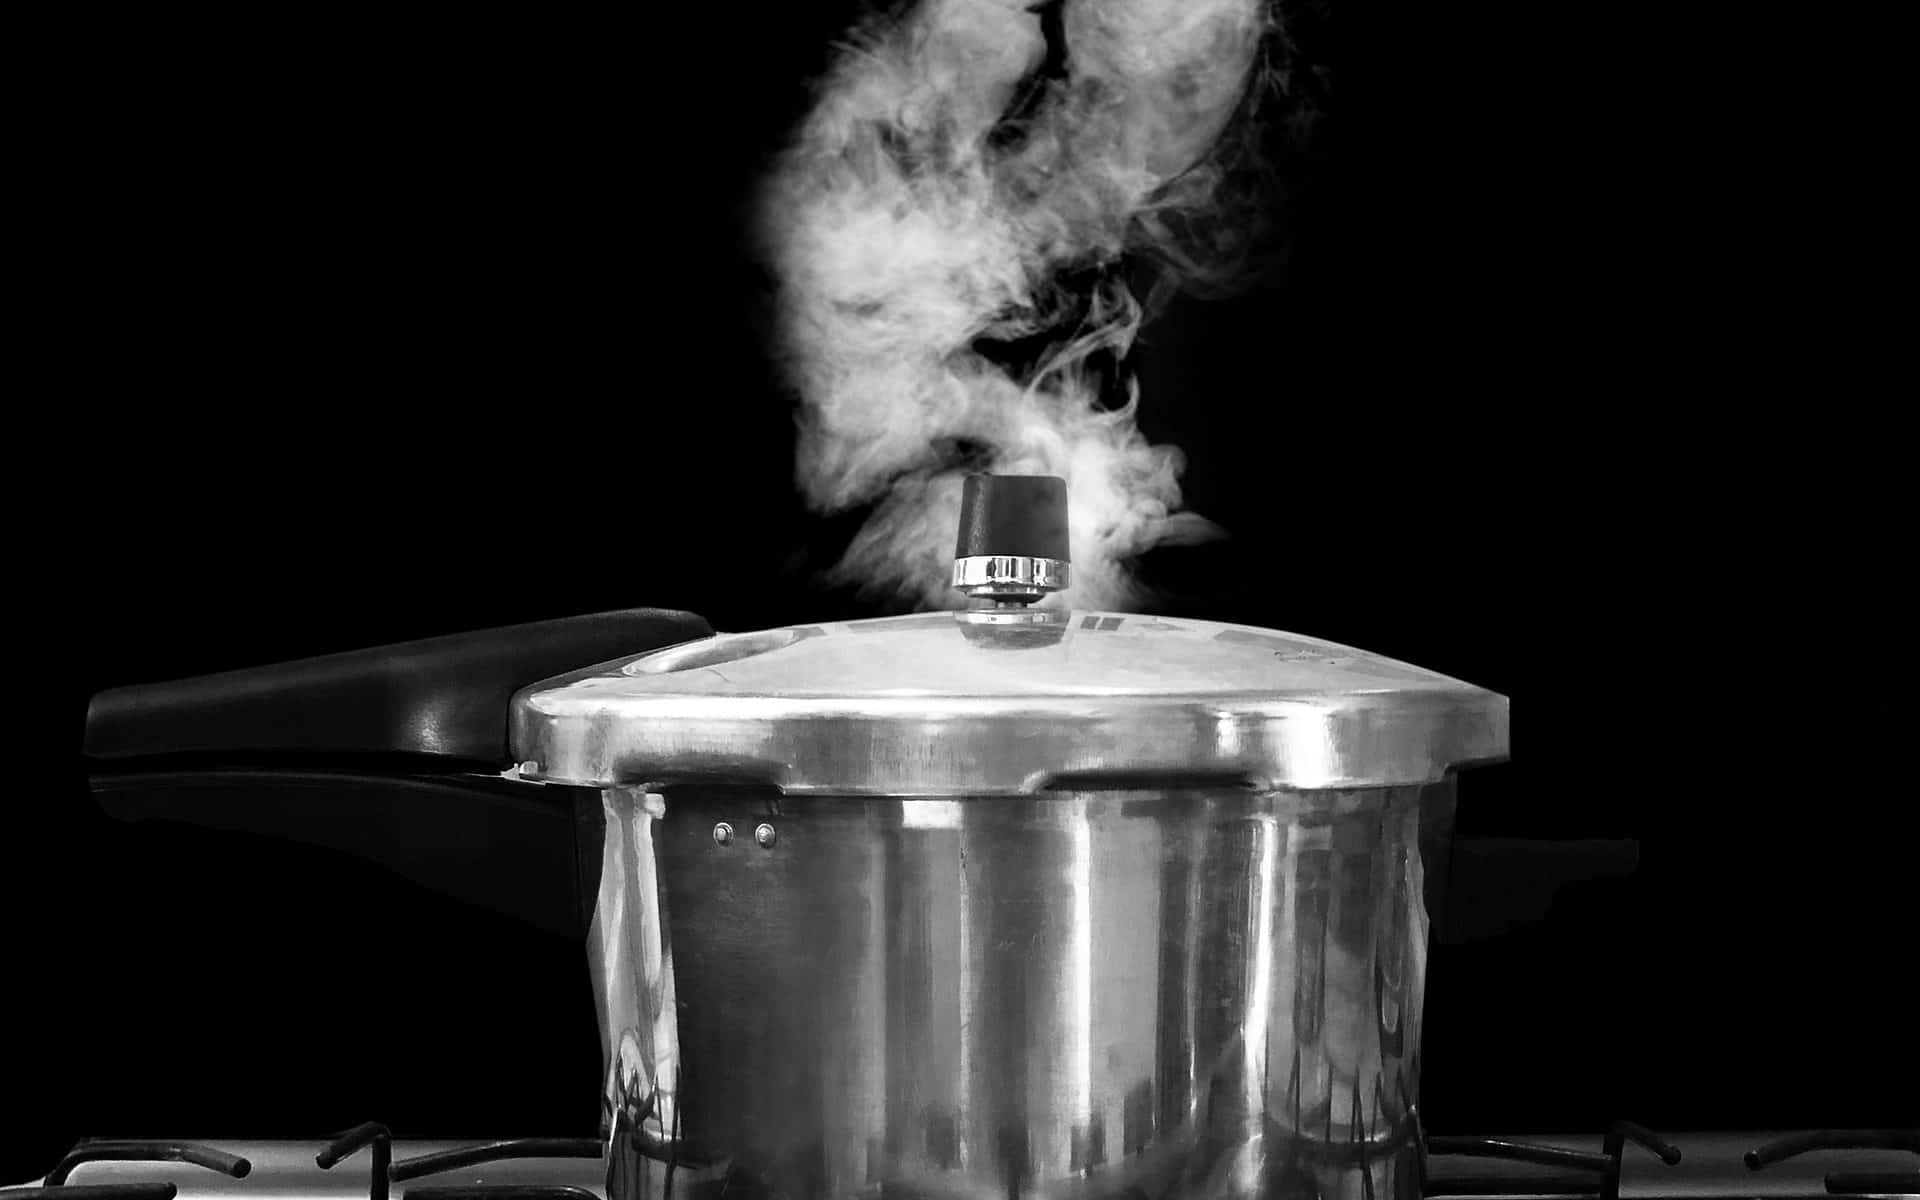
Modern pressure cookers come with safety and pressure valves designed for releasing the pressure inside safely and quickly. Instead of waiting for the pressure to subside naturally, which might lead to overcooking, you can release the pressure through the pressure valve.
Most pressure cookers come with a valve, but they can also have a lever, push, or slide button. Regardless of the release mechanism, it serves the same function – to quickly release the pressure/steam inside the pressure cooker.
But be prepared. When you use the pressure release valve, the steam coming off will produce a loud sound – that’s normal. What’s not normal is the bits of the food or liquid that start coming out. If you notice something like this, close the valve. Such scenarios can happen when the pressure cooker is too full or when you’re cooking with a lot of liquid (for example, meat stew).
In this case, the slightly slower delayed quick-release method is a great alternative. You’ll still use the pressure valve, but you’ll open it halfway through or open it for short intervals to release bursts of steam.
This method is best for fast and light meals, such as cooking vegetables or liquid-covered foods. Thick and dry foods, such as rice, are unsuitable for the quick-release method. We recommend the natural release method for those dishes.
Combined and Natural-Release Method
SAFEST!
The natural-release method, i.e., waiting for the pressure to subside naturally, is the slowest opening method but also the safest. It’s the recommended method when you use a pressure cooker without a pressure valve or when cooking complex, slow-cooked meals. Also, it’s the easiest method to open a pressure cooker, which is excellent for first-time users.
Turn off the pressure cooker or remove it from the stove and let it cool down (and the pressure to subside) before opening it. Depending on the type of pressure cooker and the food, this method takes anywhere from 10 to 30 minutes. Stovetop pressure cookers are faster, and you can safely open them in around 15 to 20 minutes.
On the other hand, electric pressure cookers take around 20 to 30 minutes to be ready for opening. The exact time also depends on the food – the more food you have, the longer the waiting period will be.
It is the best method for slow-cooking and works well with rice, legumes, grains, and other foods that can dry out with quick evaporation.
Conclusion
Opening modern pressure cookers is a much easier and safer process than it was a decade ago, thanks to many safety features such as steam and pressure valves.
Nevertheless, you still need to understand how each opening mechanism works to prevent completely avoidable accidents and ensure the food’s quality.
Hopefully, our brief guide achieved that and made you feel at ease about using your pressure cooker.
There are three considerations readers need to pay attention to before opening the pressure cooker – the time, type of food type cooked, and pressure cooker model.
That being said, the two safest opening methods are natural and quick-release. Another popular release method for stovetop pressure cookers is the water-release method, but we do not recommend it due to safety concerns.
Finally, always read the instructions provided by the manufacturer because different pressure cookers might be more or less suitable for different opening methods. Don’t hesitate to call customer support if you’re still having doubts.