As an Amazon Associate I earn from qualifying purchases.

Are you searching for a way to make the perfect french fries, as tasty and crunchy as those you get in your favorite restaurant?
If someone in the local fast-food chain can make delicious french fries that somehow crunch and melt in your mouth simultaneously, how hard could it possibly be?
The thing is, there are several ways to make french fries, but there is only one way to make them perfect. Ready? Here we go.
The trick to making the best french fries is to first soak them in ice-cold water for a very long time. Several hours long time. And then? Then, you need to deep fry them twice.
The first fry should take 5 to 7 minutes. Then the fries need to chill and soak for 3 to 5 minutes before you fry them again for 5 minutes.
In this article, we’ll teach you how to perfectly deep-fry french fries. But first, let’s see what you need for deep frying french fries.
Tools and Ingredients
For the perfect french fries, make sure you have all the right ingredients. Don’t settle with the sunflower oil, but go to the next shop to search for peanut oil. It may seem like an unimportant detail, but for perfect fries, you need all the best ingredients.
- Russet potatoes
- Peanut oil
- Salt
- French fry cutter (you can still make good french fries without this tool, but if you want them to look like those from McDonald’s, go for it)
- Vegetable scrub brush
- Deep fryer or a deep pot
- Stove
Making the Fries
The making of the perfect french fries begins with washing the potatoes and scrubbing them with a scrub brush to remove any potential dirt from the soil, if you plan to prepare them with the peel. Otherwise, you can lightly wash and peel them.
Then, cut the potatoes in the standard french fries shape. If you don’t have a french fry cutter, here’s a nice trick: remove the ends first so that you’re left with two short flat sides. Then slice and strip cut.
Now, the first crucial step: soak the potatoes in ice water. Sounds strange? Well, this little trick removes the excess starch from the potatoes and will make your potatoes soft on the inside and crunchy on the outside.
You can soak your fries for between two and twelve hours. So, if you have some errands to run, a party to attend, or simply need a nap, there is no need to rush. The potatoes should be fine on their own. If you are in a hurry, let them soak for at least 30 minutes.
So much for the preparation. The next step is to fry the potatoes.
How Long to Deep Fry French Fries?
You need to deep-fry French fries twice to achieve the magical combination of perfect color, outer crunchiness, and inner softness.
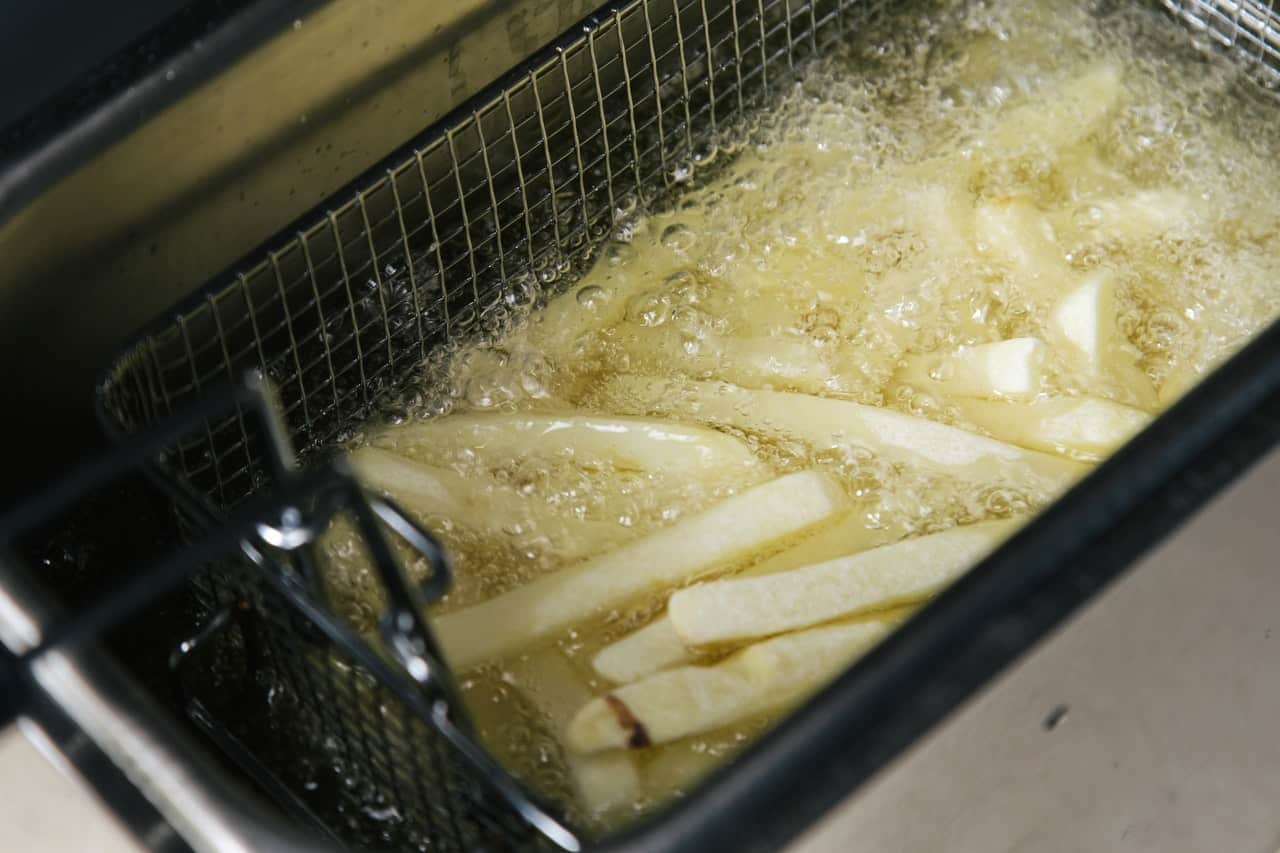
Drain before frying your potatoes for the first time. You should preheat the deep fryer or oil in a pan to some 300 degrees, and then put the potatoes in for the first 5-7 minute fry. If you’re using a plain pan and oil, you can fry them for up to 10 minutes, as oil takes more time to heat up in a pan. We recommend using a timer because frying too long can deprive the fries of that fluffy interior, resulting in a batch of french fries that are just greasy. On the other hand, a too-short first fry makes it harder to achieve that perfect texture, and the result can be soggy or raw fries.
After the first fry, leave the potatoes to soak on a piece of kitchen paper towel. Two or three minutes are enough to collect excess oil.
After the soaking session, your fries are ready to be fried again! This time, you can divide your potatoes into sub-batches before putting them in the deep-fryer. This way, fries have enough room to swim in oil and will be crunchier. Fry each batch for precisely five minutes, and place them on paper towels to soak again.
Salt right away.
Why Fry Twice?
There are at least two theories on why frying twice is necessary for the best results. According to the first one, the first fry establishes a watertight barrier around the potato so that it remains moist even after the second fry. According to the second theory, the first fry is necessary to cook the center. Otherwise, the fries would gain color and crispiness outside but remain raw inside.
Soggy or Raw Fries
If your fries are soggy or raw on the inside, don’t worry, they can be rescued. Oil a baking sheet lightly and heat the fries on it for 5 minutes. They might become satisfyingly crispy right away, but if not, you can just keep on heating them up in five-minute sessions until they reach the desired crispiness.
Are Over-Fried Fries Bad?
Heavy frying in oil makes food extremely stuffed with saturated fats. This can raise the bad cholesterol, which is linked to strokes, heart diseases, and other cardiovascular issues. Also, over-fried fries taste bad.
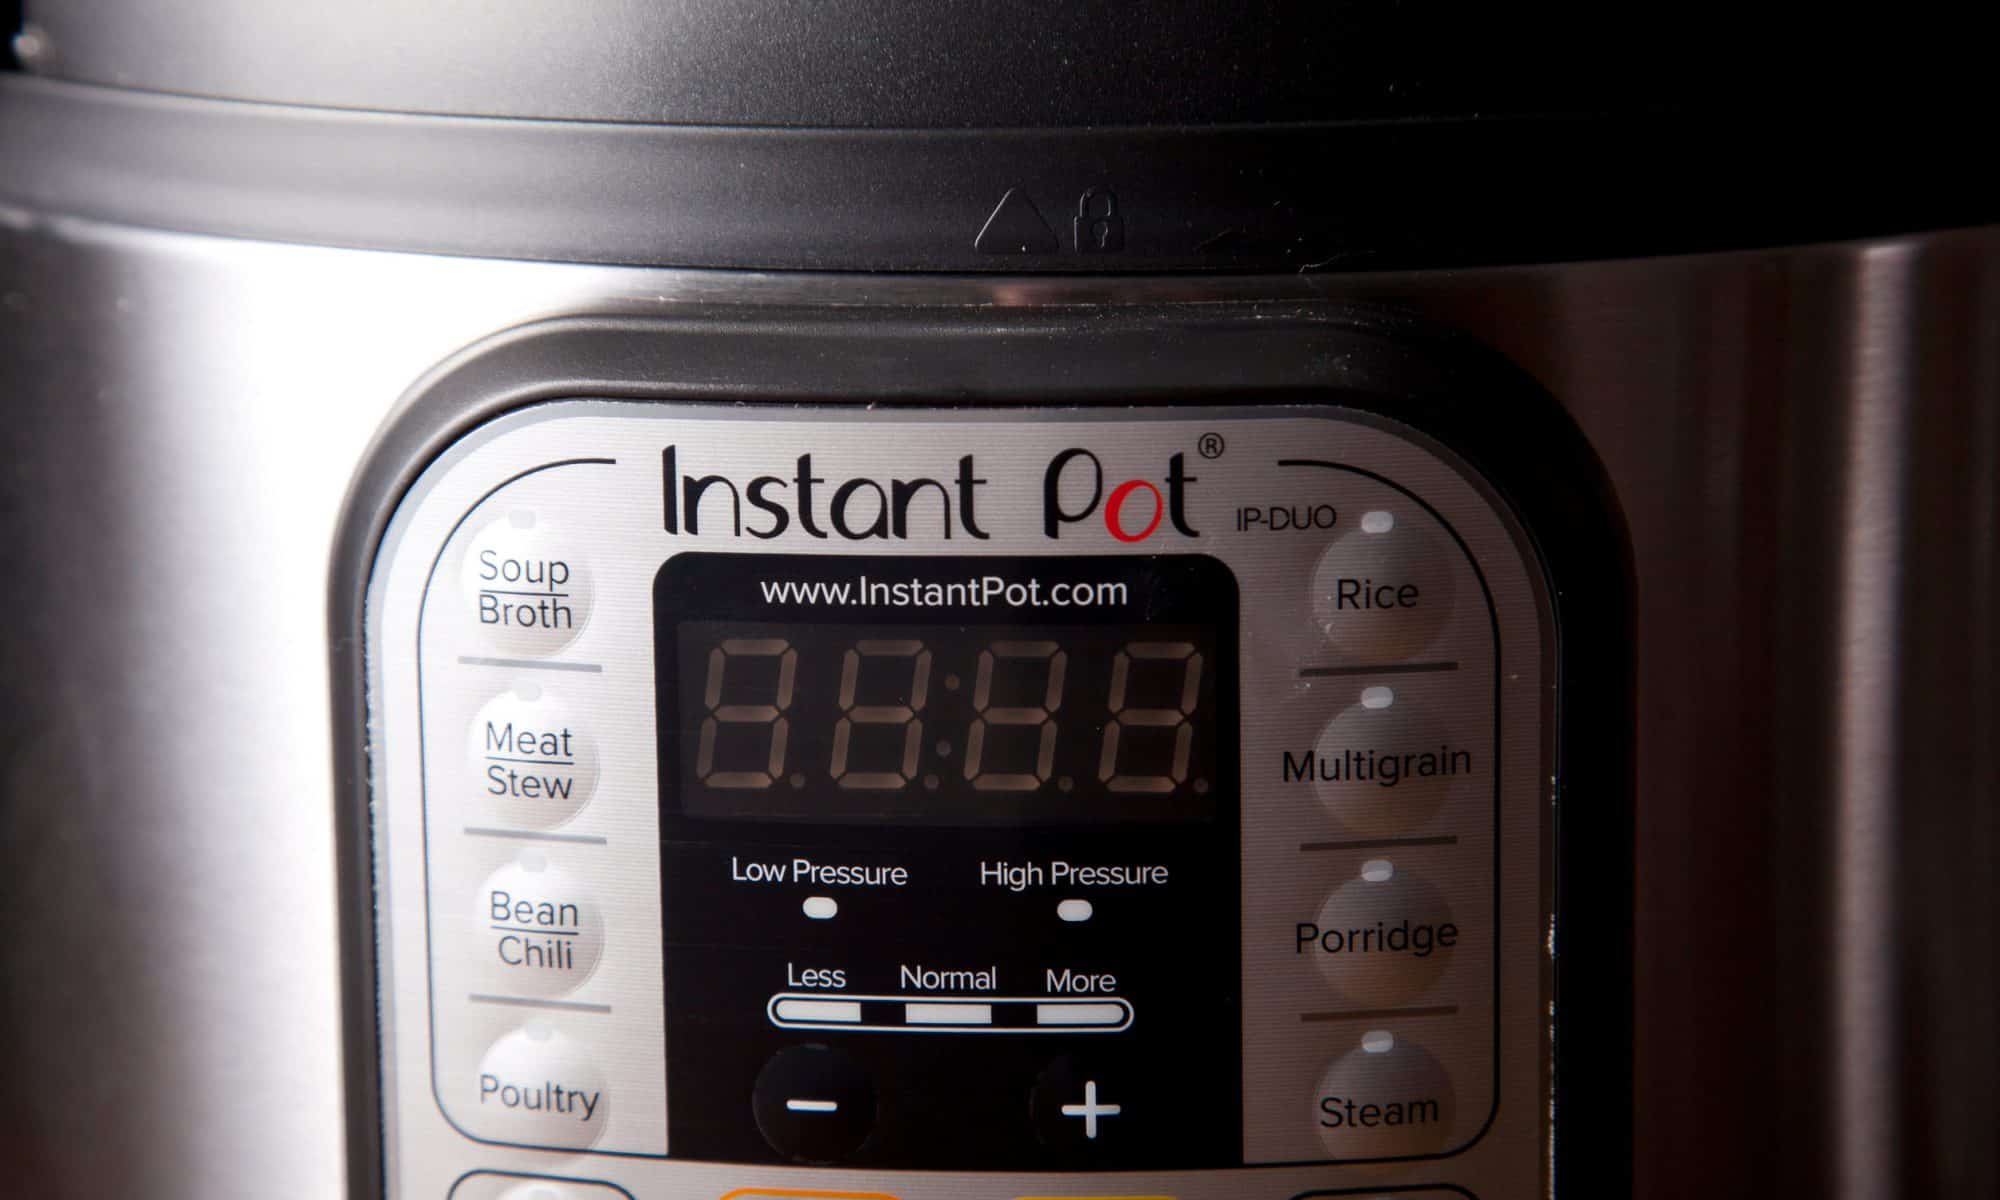
Frying Temperature
The optimal frying temperature for french fries is 325 degrees. If you want shoestring or basket-weave fries, then 375 degrees should work. Heat up the oil first, and add the potatoes carefully piece by piece to prevent cold fries from lowering the oil temperature and slowing down the frying process.
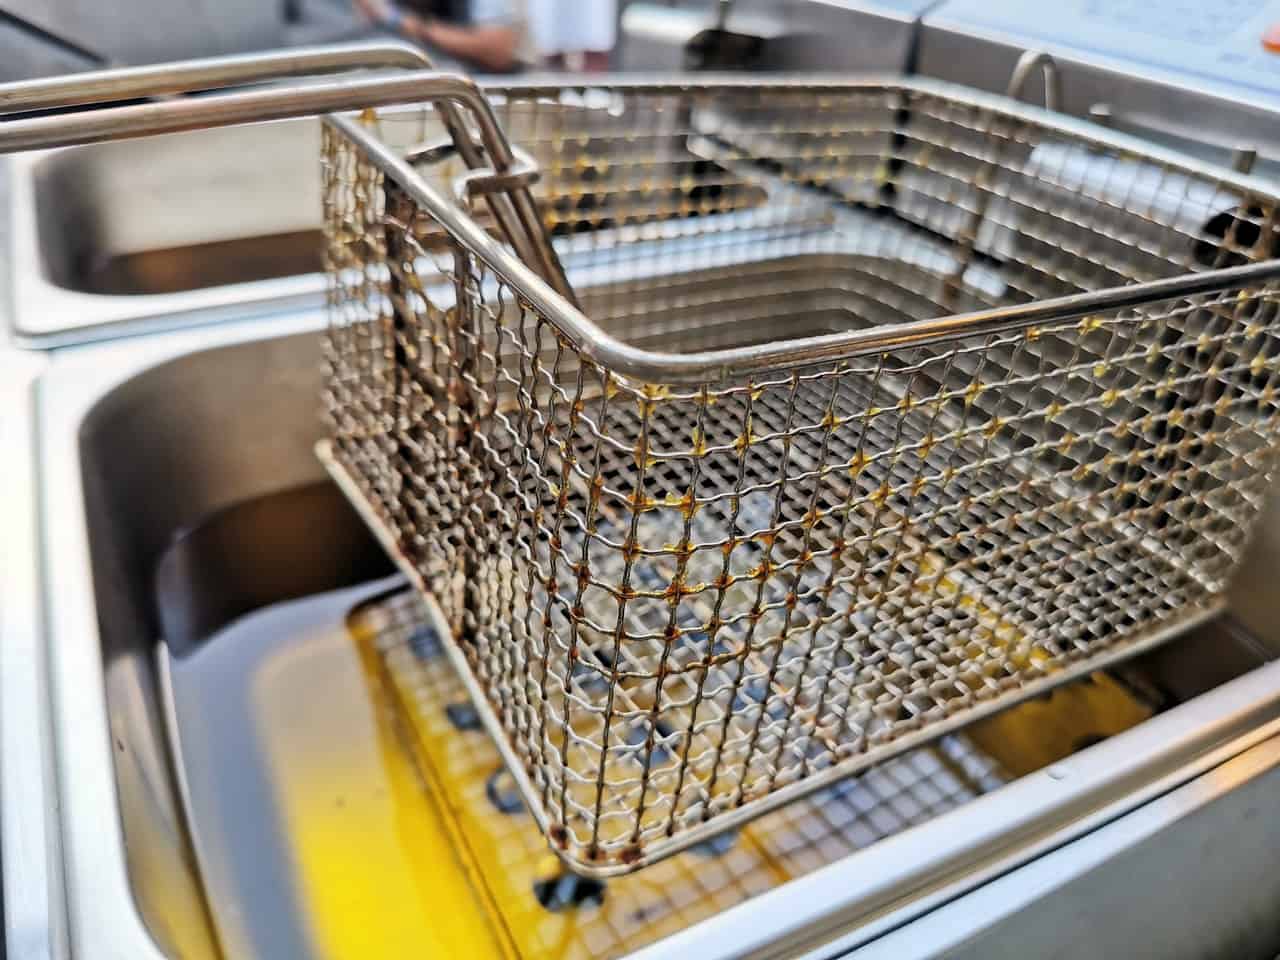
Deep-Fryer vs Oil in a Pot
In our experience, french fries are tastier and easier to prepare in a deep fryer. The main benefit of using a deep fryer is the speed of preparation. One of the fryers we’ve had the best experience with is the T-fal Deep Fryer that comes with a basket. However, this good experience comes with a price tag. If you’re looking for something more budget-friendly check out Chefman XL deep fryer.
The deal with the deep fryer is that the oil is heated at 325 degrees, and there is no air inside. This makes the frying process faster, and the food turns out super crunchy, just like in a restaurant.
Another benefit of deep-frying is safety. Working with hot oil can be dangerous, as boiling oil may spray and burn your skin. Unlike the pan, which is usually shallow and easy to tip over, the deep fryer is generally deeper. It has a lid to protect you from getting sprayed by oil and the base is sturdier, making it harder to tip over.
On the other hand, pans are cheaper, and almost every household already has a set of frying pans.
Frying in a pan also requires less oil, so pan-fried food can be considered healthier, although neither is exactly healthy since we’re dealing with frying oil. That being said, the food that floats in oil in a deep fryer isn’t really penetrated by oil; it is cooked in oil on the outside, while the steam cooks it on the inside. This is the secret behind deep-fried french fries’ outer crispiness and inner juiciness.
How Do I Know When French Fries are Done Frying?
If you’re using the deep fryer, strictly follow the recommended frying time. However, as you may know already, potatoes are often different, and some take longer to cook than others, so we may need additional signs that our fries are done.
The most important clue is the color. If fries have changed their color from golden yellow to brownish, this usually means that they are done. If there are too dark or burned pieces, remove them from the pan.
Another clue is the structure of the fries. By pinching a single french fry with a fork or knife, you can find out whether they are done. If the fork is not passing through the fry with ease, they need additional cooking, but if the fry feels soft on the inside, you know they’re ready to be served.
Conclusion
Making french fries is not exactly rocket science, but your homemade fried potatoes can compete (and win!) against those in your local fast-food chain with a little effort. And we promise you it will cost much less.
All you need in order to bring your french fries to another level is some patience and paying attention.
French fries go with everything. You can eat them with fish, red or white meat, grilled vegetables, or cheese, or snack on them alone with some good sauce. You can’t go wrong when it comes to french fries. Maybe you remember mixing your fries with ice cream in McDonald’s and how tasty that was. Now you can make the perfect fries for yourself, grab some vanilla ice cream to go with it, and enjoy the treat at home!