As an Amazon Associate I earn from qualifying purchases.
“quick, creamy, and delightfully sweet”
Many delicious recipes have originated from the French culture, and I’m a fan of most of them – with sweet chocolate mousse being on the top of my list! However, there comes a time when you have eaten so much that your body starts craving a different flavor. Since I easily get attached to the things I like, this is usually the time when I start searching for a way to still enjoy a sweet mouse but try different flavors at the same time. Long story short, this no-bake blueberry cheesecake mousse recipe quickly became my new addiction.
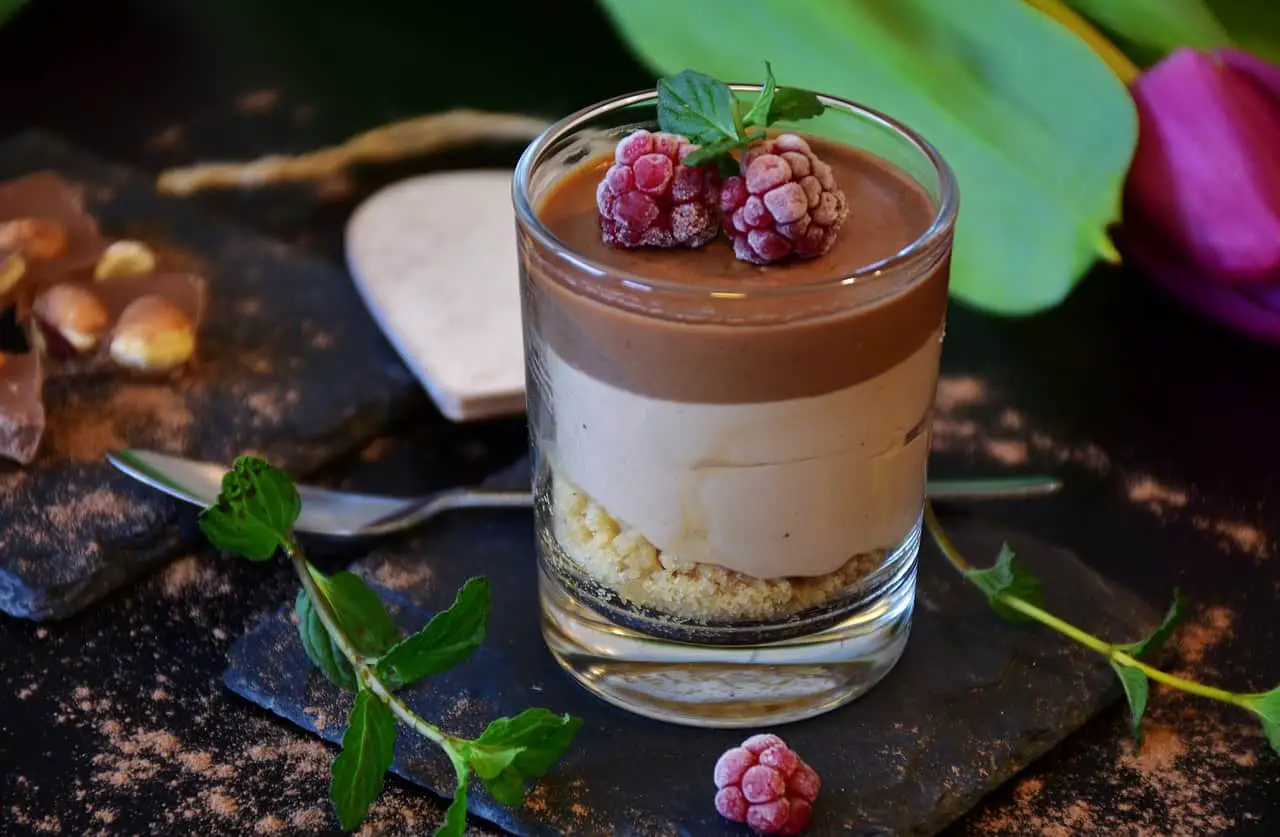
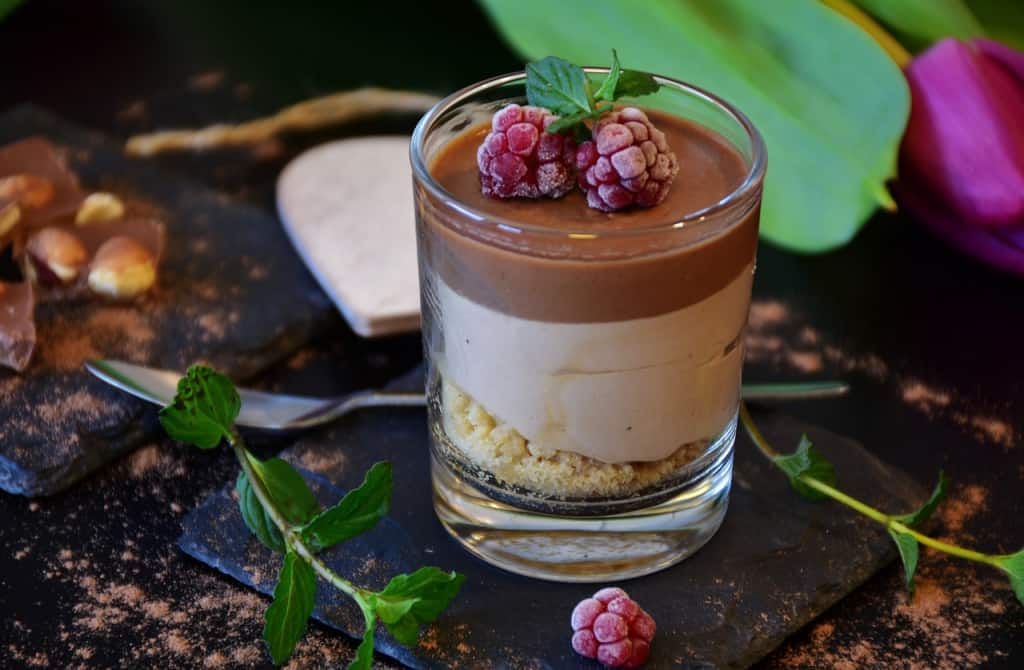
It’s soft, creamy, fluffy, and it melts on your tongue – what more can we ask from a mousse?
The cheesecake and blueberry puree make for the perfect balance between sweet and sour. The cheesecake cream is a little bit sweeter, which compliments the tartier flavor of the blueberry puree.
And, the good thing is that this is a very quick and easy-to-follow recipe, which means you can make this blueberry cheesecake mousse anytime your sweet-tooth kicks in. However, you still have to resist the temptation for an hour while it chills in the fridge, so keep that in mind!
To make this recipe, you’ll need two mixing bowls, a blender, plastic wrap, and serving glasses or bowls.
The first step is to prepare the Oreo crust, so you can let it cool in the fridge while you make the cheesecake and blueberry puree. Combine the Oreo cookie crumbs, butter, and sugar in a blender and pulse until all the ingredients are well combined. The mixture will be crumbly, but it should still clump together.
Next, pour the mixture on a plastic wrap and press it to form a flat circle, then wrap it tightly with the plastic wrap. Place the Oreo crumble in the freezer and let it cool for 10 minutes.
In the meantime, take a large mixing bowl and whisk half-and-half for a minute or two. Once it starts to thicken, add half of the icing sugar and stir again.
Take another mixing bowl and combine the cream cheese, vanilla extract, and the remaining icing sugar. Once the ingredients are combined, stir in the mixture into the half-and-half bowl. Set the bowl aside.
To make the blueberry puree, place the blueberries, brown sugar, lemon juice, and water in the blender and pulse for a minute or two. Once the puree is smooth, and there are no lumps, set it aside.
Take the Oreo crumble from the freezer and pour two to three tablespoons on the bottom of each serving glass or bowl. After this, pour a one-inch layer of the cheesecake, then the blueberry puree in each glass, and repeat the same layering process until each glass if full.
Put the glasses in the freezer to chill for an hour. It will be hard to resist, but the mousse tastes so much much better and more refreshing once it’s chilled. After all, we’re making a mousse, not a cream, so have patience.
Before serving, garnish each glass with a fresh blueberry or raspberry. Enjoy!
| Prep | Chill time | Total | Servings |
| 15 minutes | 1 hours | 1 hours 15 minutes | 4 |
Ingredients
For the cheesecake mousse:
- 1 cup half-and-half
- 1 cup softened cream cheese
- ¾ cup icing sugar
- 1 tsp vanilla extract
For the blueberry puree:
- ⅓ cup brown sugar
- 1 ½ cup blueberries
- 1tbsp lemon juice
- 3 tbsp water
For the crust:
- 1 cup oreo cookie crumbs
- 4 tbsp butter (melted)
- 2 tbsp brown sugar
Instructions
- Combine the Oreo cookie crumbs, butter, and sugar in a blender. Pulse the mixture until all of the ingredients are incorporated, and you have a crumbly blend that clumps together.
- Roll the Oreo dough and make a flat circle. Take a plastic wrap and wrap the dough tightly, then place it in the freezer for 10 minutes.
- Combine the blueberries, sugar, lemon juice, and water in a blender and pulse until you have a smooth paste with no lumps. Set it aside.
- Take a large mixing bowl and whisk the half-and-half. Once it starts to thicken, add half of the icing sugar. Stir for one to two minutes.
- Whisk together the cream cheese, vanilla extract, and the remaining icing sugar in another mixing bowl. Stir until smooth, then pour it into the half-and-half mixture. Mix again then set aside.
- After 10 minutes, take the Oreo crust out of the freezer. Let it rest for 5 minutes at room temperature.
- Prepare a serving glass and add two to three tbsp of Oreo crust at the bottom.
- After this, pour a one-inch layer of the cheesecake mousse over the Oreo crust.
- Next, pour a one-inch layer of the blueberry puree over the cheesecake mousse.
- Repeat the blueberry-cheesecake layering until the serving glass is full.
- Do this with the other three serving glasses.
- Place the glasses in the fridge for an hour.
- Garnish with a fresh blueberry or raspberry on top and serve.