As an Amazon Associate I earn from qualifying purchases.
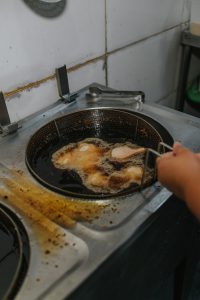
It’s no secret that restaurants reuse the oil when they deep fry the food. And, while there are still downsides to this practice, it’s a lot safer than reusing the oil at home. Why is that? Why should you be careful about keeping the oil inside your deep fryer for a long time?
For many reasons. First, the oil degrades after each use and depending on the deep-frying temperature, this can make the oil residue very harmful and toxic. Second, deep fryers might not have the right conditions for storing oils, which can furthermore degrade and oxidize the oil over time. Finally, restaurants use the deep fryer almost non-stop, which is not the case at home. In most households, deep frying is not an everyday thing, which affects how you should reuse and store the oil.
Long story short, with everything in mind, it seems that the first question we need to answer is: “Is it acceptable to leave oil in a deep fryer?” And, if yes, then how long can you keep oil in the deep fryer before it becomes harmful?
It might seem as an easy answer, but as you’ll see, there are many different factors to consider.
Factors That Affect Oil Reuse Quality
How often you need to change the oil in your deep fryer depends on the deep fryer itself, the food you’re cooking, the oil you’re cooking with, and your own cooking habits. Each aspect can either prolong or shorten the amount of time when the oil is considered usable, and here’s how.
1. The Food You’re Frying
When people ask how often they should change the oil, they expect a magic number or a short answer that works every time. However, that’s not realistic. Imagine, even the type of food you’ve been frying affects whether the remaining oil can be reused and for how long.
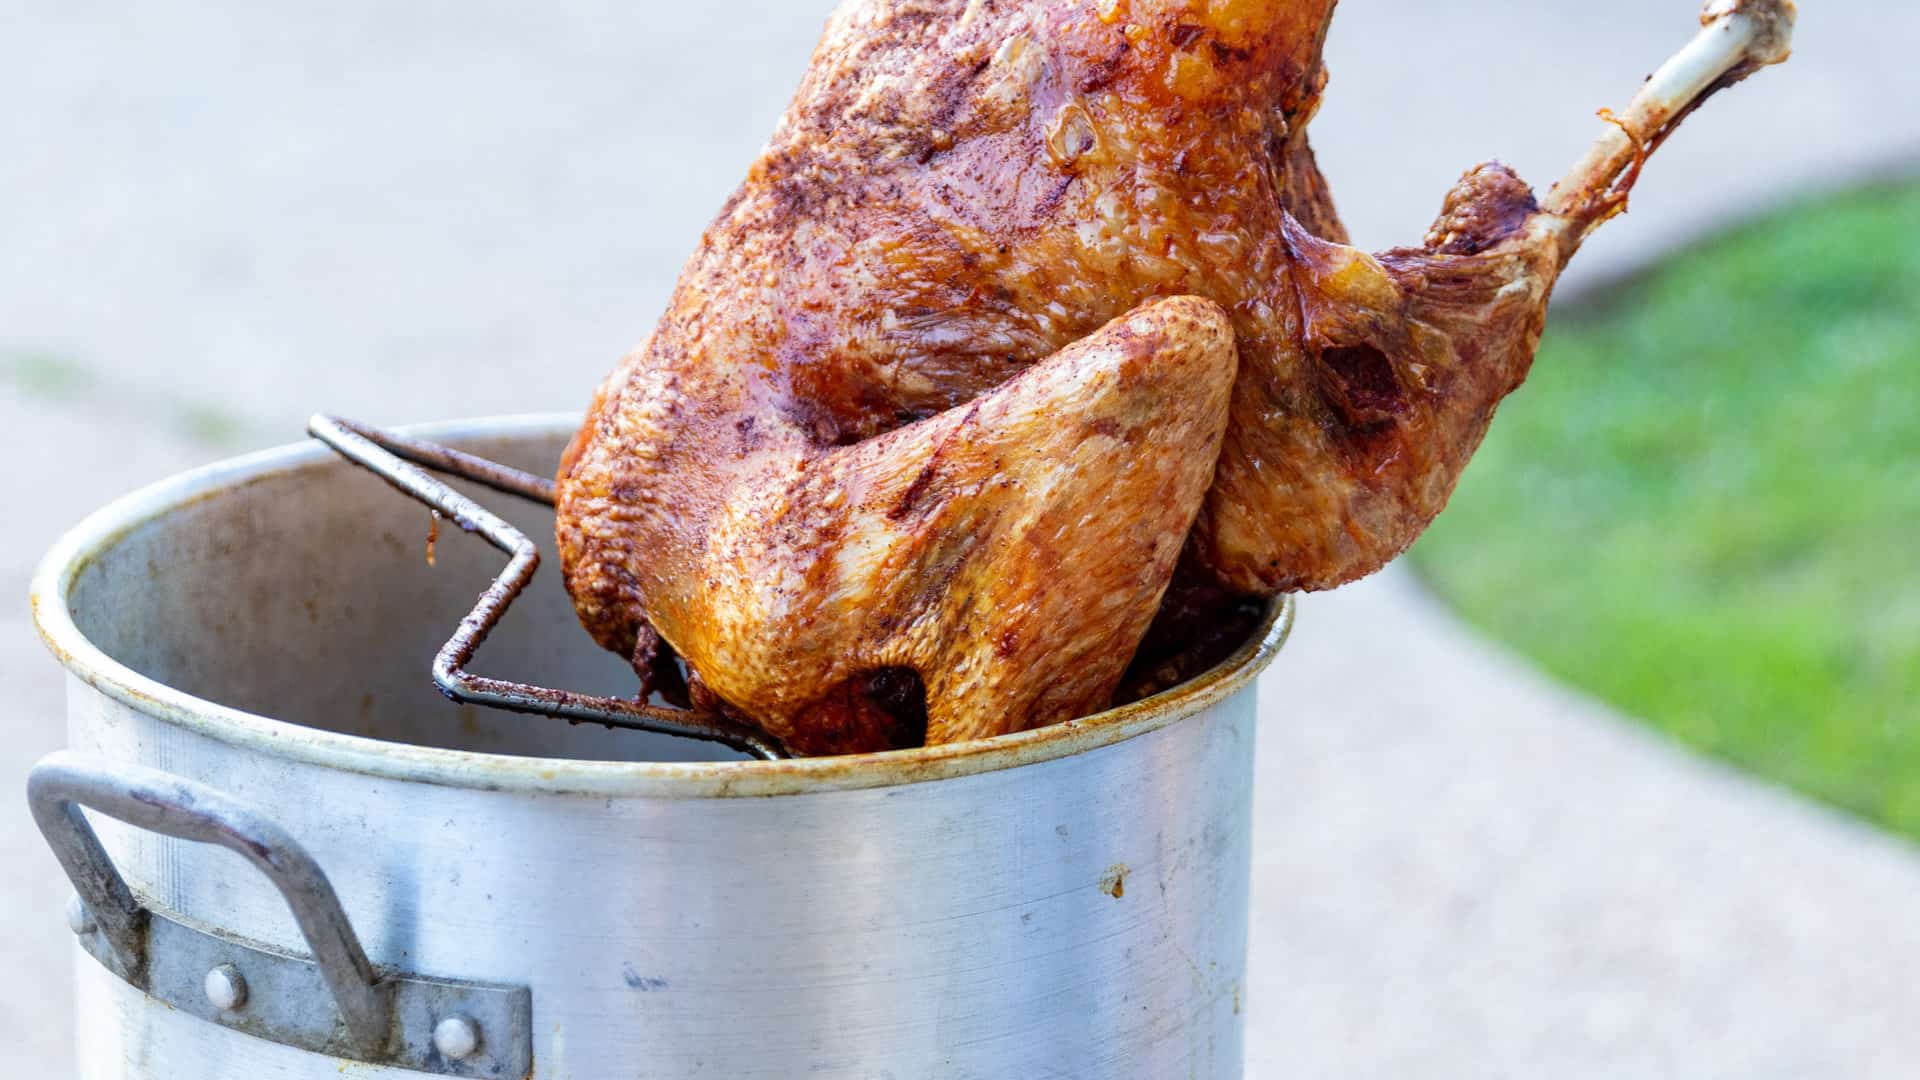
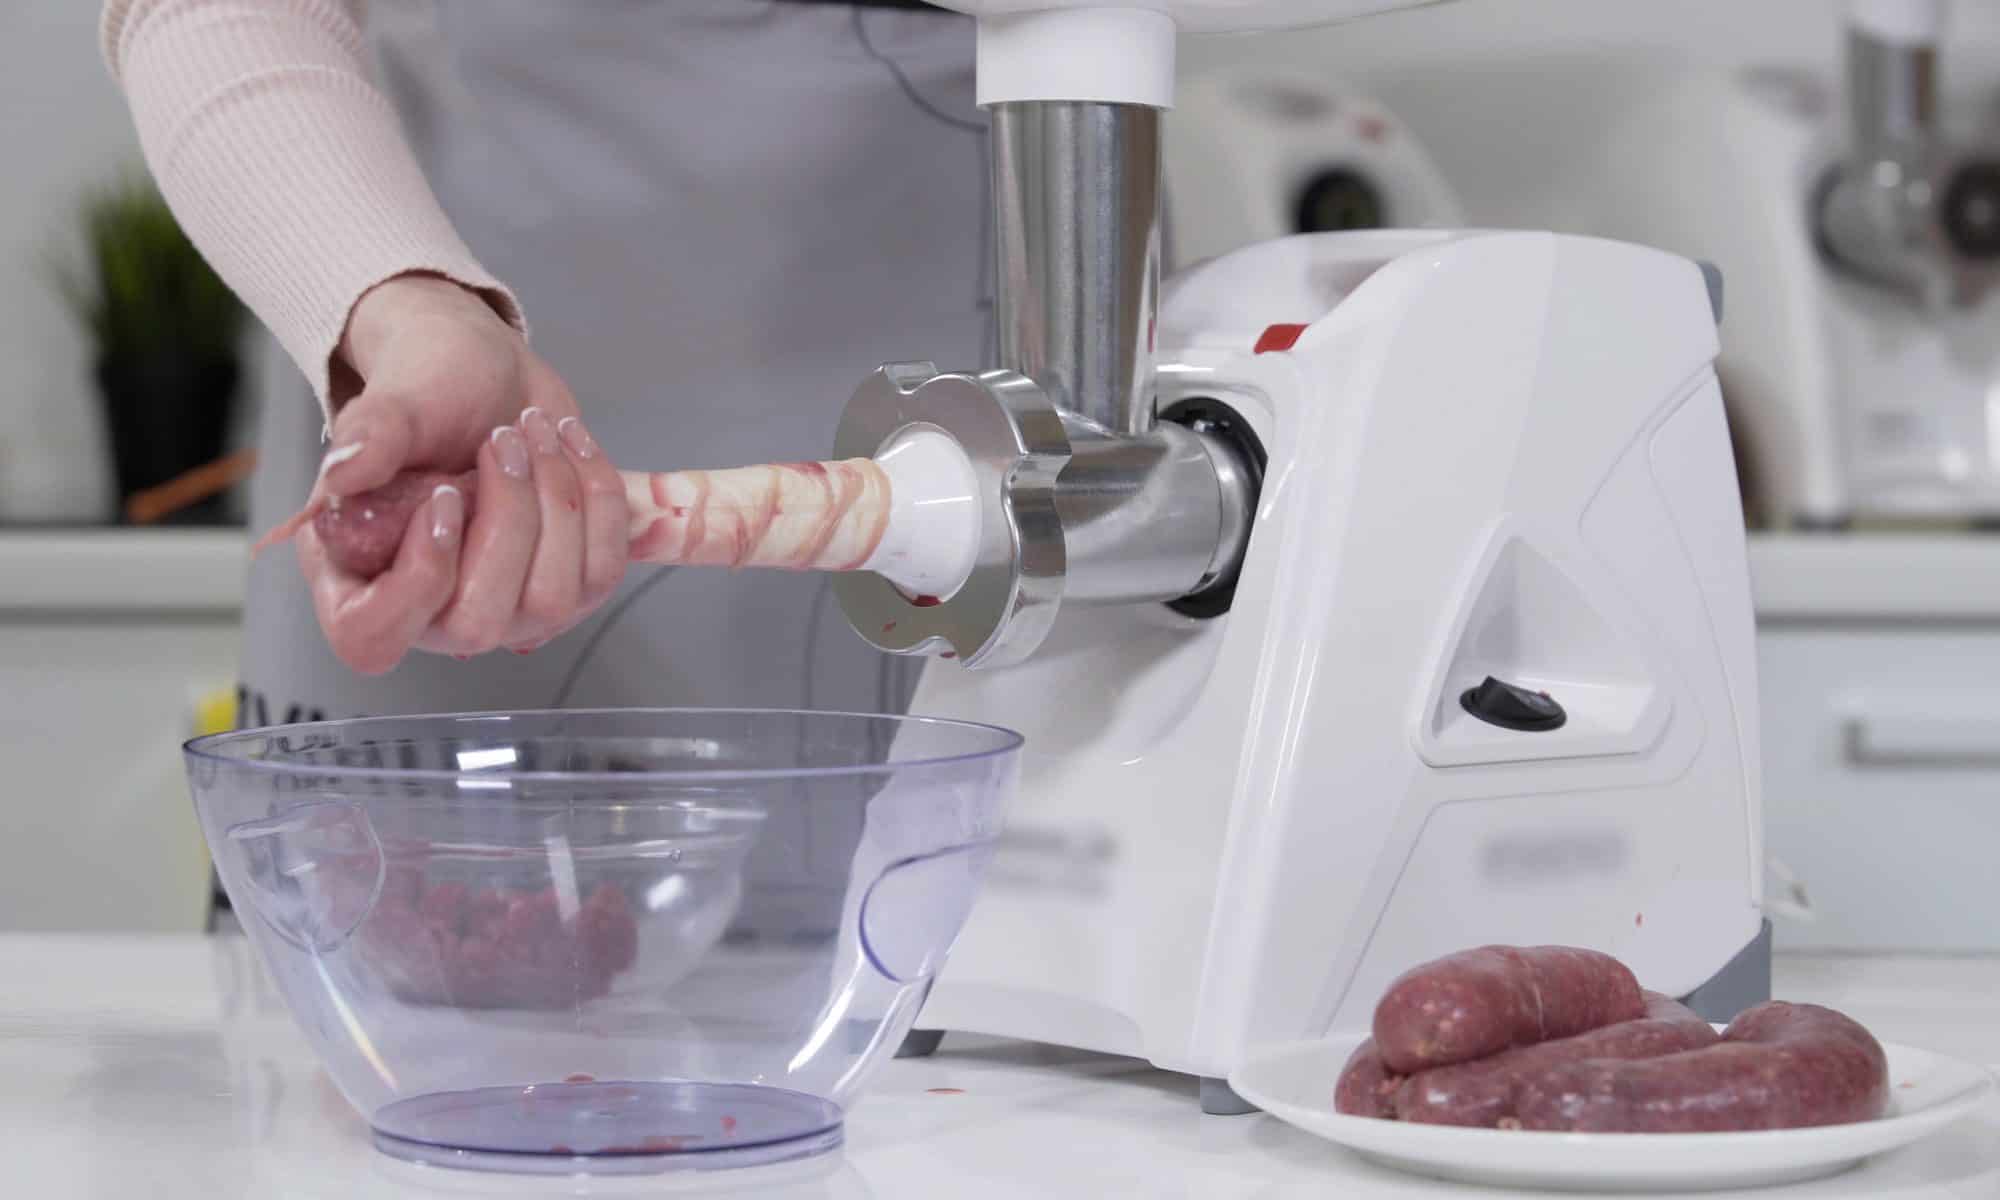
Frying chicken is not the same as frying french fries. In other words, frying meat and vegetables affect the condition of the oil in a different way. If you’re frying meat, you should not reuse the oil or at least not use it as long as you would if you were frying vegetables.
Some foods break down easily and leave a lot of food particles in the oil (think chicken nuggets or onion rings). These are also the types of foods that negatively affect the oil’s reuse life.
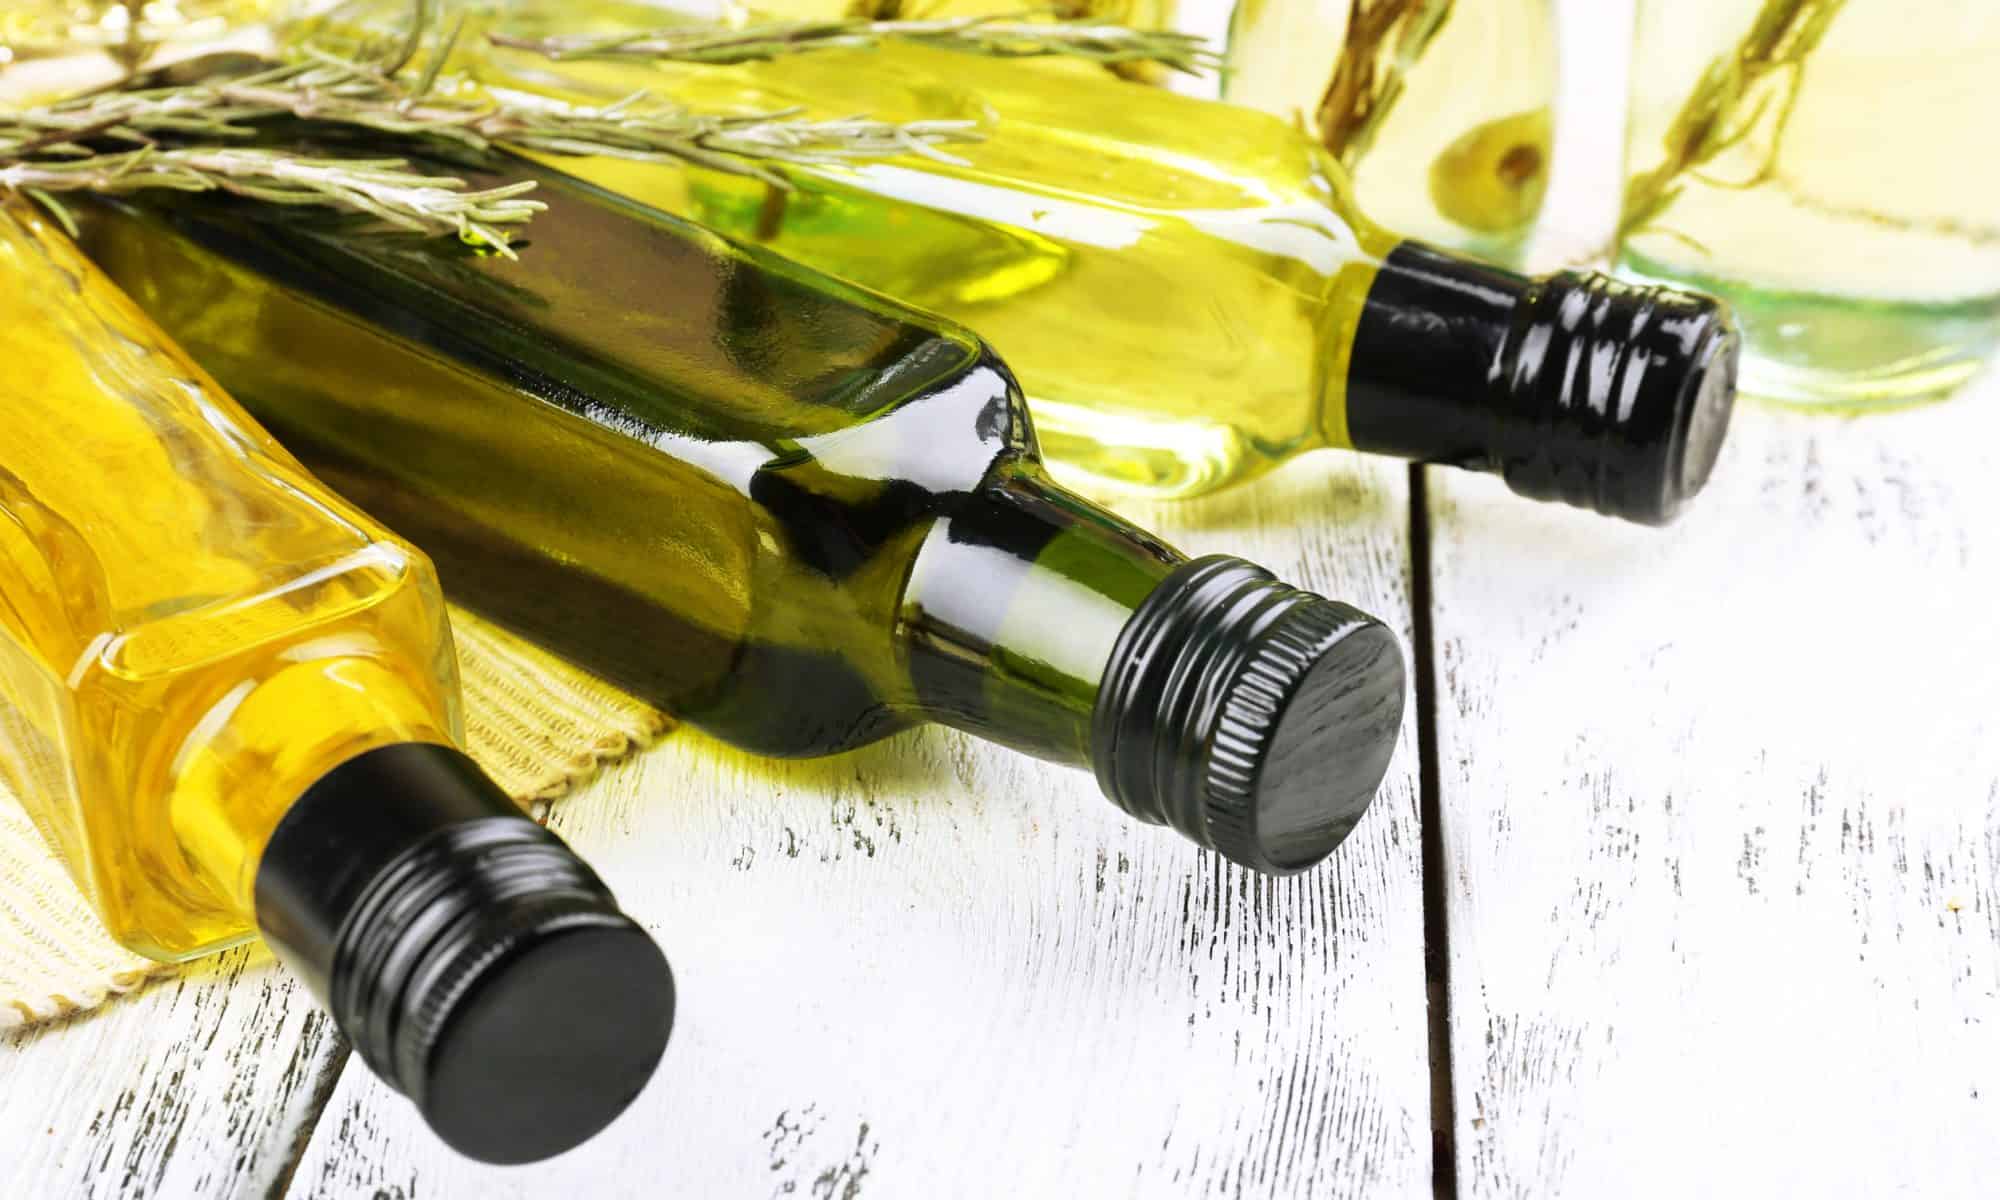
2. The Type of Oil You’re Using
The second factor that affects the oil’s quality after using it is the oil itself. Different oils have different properties, and these properties change when heated. This is why some oils are not suitable for deep frying at all – not even once.
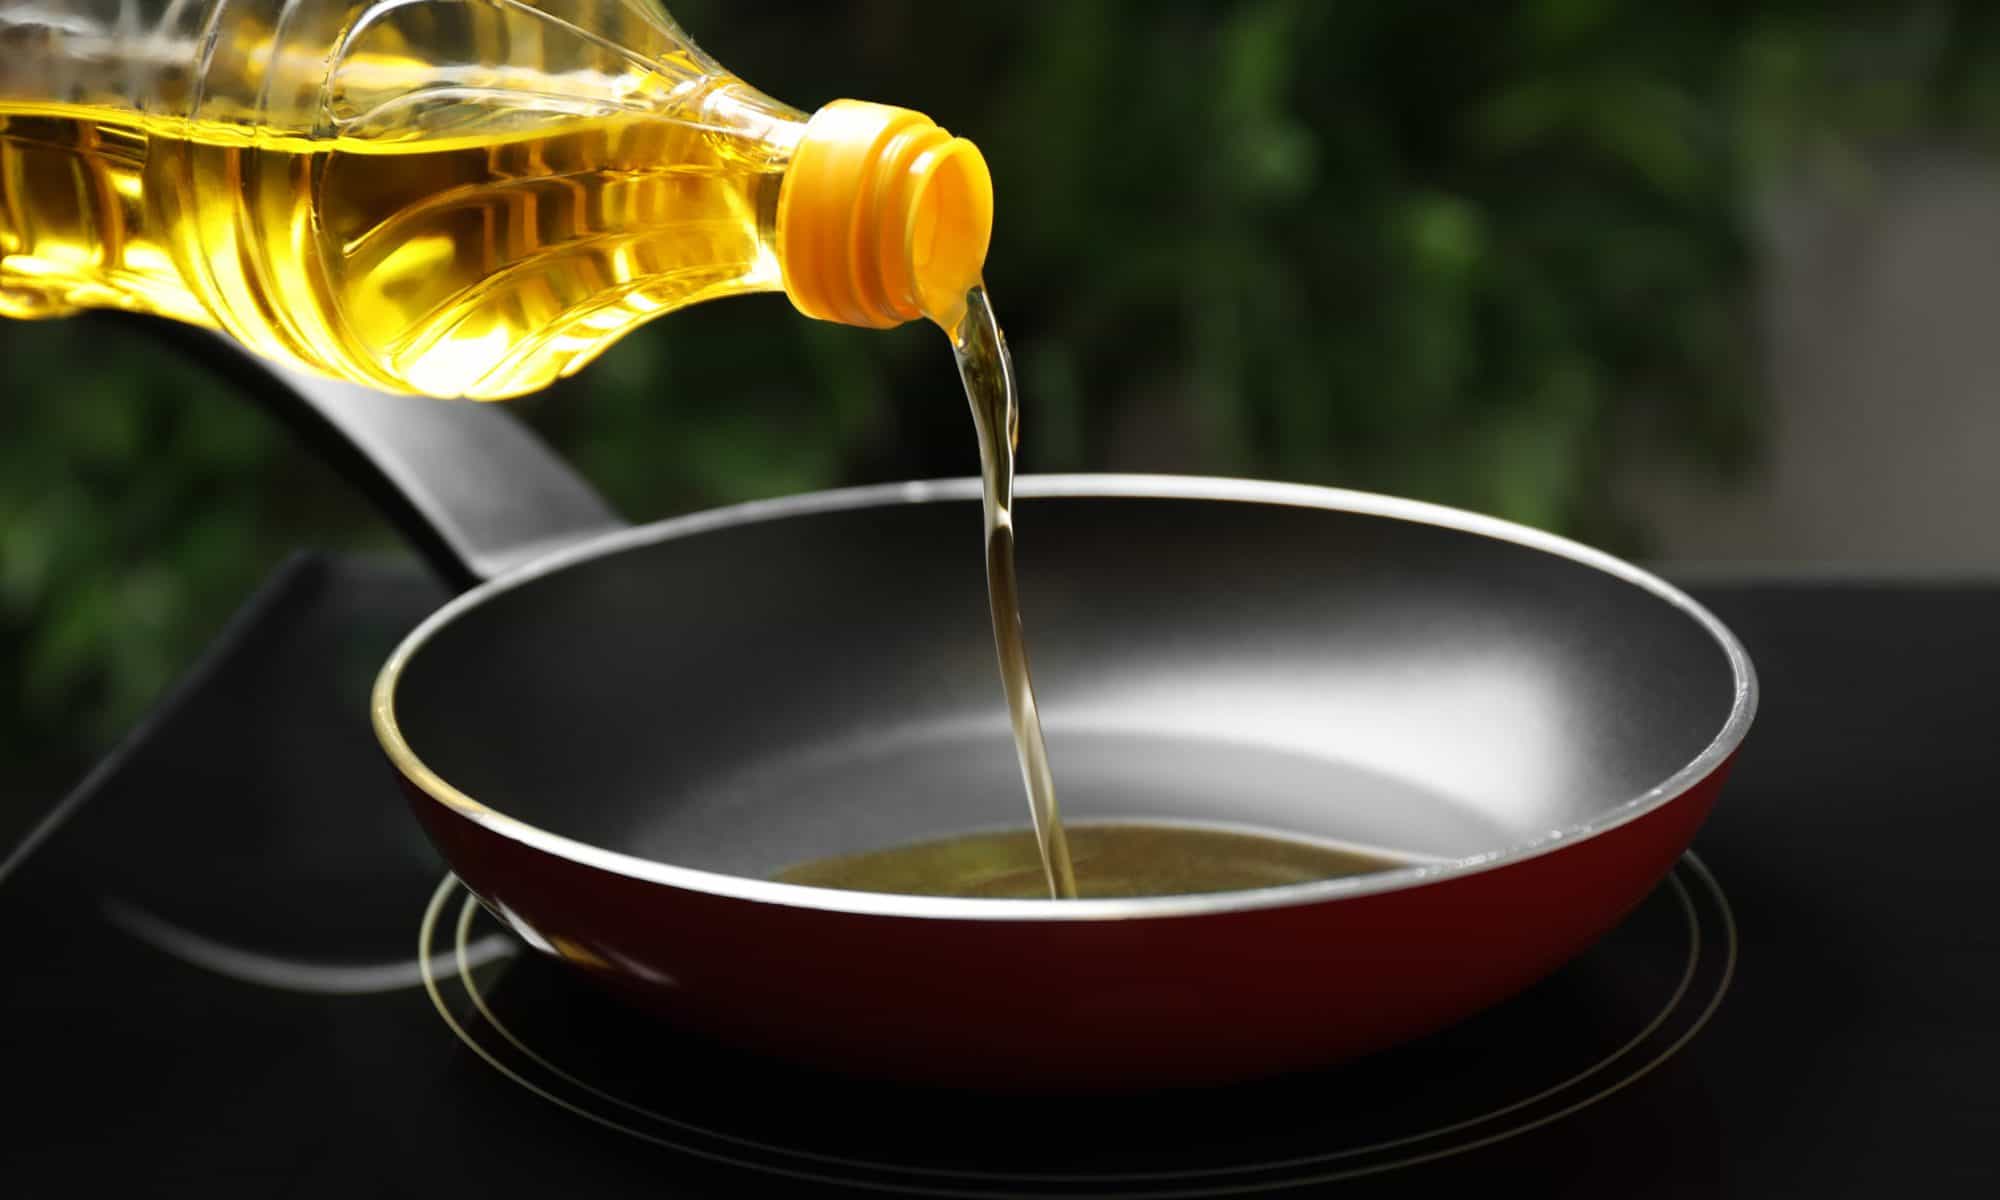
The ideal temperature for deep frying is between 350 and 375 °F. Therefore, you should use oils that have a smoking point above 375 °F – and the higher, the better. Every frying cycle will degrade the oil quality and make it more unstable the next time you’re cooking with it. So, imagine the consequences if you’re deep frying with an oil with a smoking point of 350 °F. This may not be such a big deal if you only use it once to prepare a quick lunch, for example.
However, if you leave it there, just sitting exposed to air will degrade its quality further and make it rancid. Rancidification is a chemical process where the fats of the oil become partially or fully oxidized or hydrolyzed, which results in bad taste and smell.
Then, the next time you cook with it, the oil won’t be as stable as it was in the beginning, which will affect the food you’re cooking and make it much more unhealthy for consumption.
Of course, the fatty acid content also makes some oils more stable or unstable. Oils with a high content of PUFAs (polyunsaturated fatty acids) break down easily at high temperatures, which makes them even more dangerous if you reuse them.
This doesn’t mean that choosing a suitable oil for deep frying gives you a pass and makes it okay to reuse the oil for a long period of time. It just means that it will be okay to reuse it at least once or twice under the assumption that you also consider all the other factors that we’ll mention.
3. The Temperature at Which You’re Frying
In the previous section, we began to discuss the temperature, but since it’s too important to leave it that, let’s discuss it in greater detail.
Deep frying already means that you’ll be heating the oil at a much higher temperature than you would in a regular pan or in the oven. We said that the ideal deep-frying temperature is between 350 and 375 °F, but if you do not have a thermometer, things can get out of hand.
And, despite knowing what happens if you heat the oil past its smoke point, you could easily degrade the oil’s quality and ruin the taste of the food in just one frying cycle just because you didn’t know how high the temperature was. Then, next time, even if the oil was ideal for deep frying, you’ll be cooking with rancid or even toxic oil.
This is a mistake that most newbies make. To prevent this, invest in a good deep-fry or candy thermometer if you’re using a pot, or buy one that has a thermometer included.
4. The Filters of Deep Fryers
Some deep fryers come with a filtering system that can prolong the life of the oil that you would otherwise have to throw away after only one frying cycle. It achieves this by removing pieces of food that fall off during the frying process. Some pieces are big enough that you can easily notice and remove them manually, but most pieces are so small that we can’t even notice them. Still, they can make the oil thicker, prone to bacterial activity, and oxidize quicker.
When buying a deep fryer, you’ll probably have the option to choose between three types of filters – paper, charcoal, and oil vapor, and each type has its own advantages and disadvantages.
Charcoal filters work best on oils that have absorbed aroma from the food or have become too greasy – which can happen if you’re cooking at a lower than usual temperature. Oil vapor filters catch the fumes released from the oils and filter them out, which is great, but it’s not what you need to keep reusing the oil. And finally, paper filters are used to catch leftover food and free it from any type of food debris.
To prolong the life of the oil, you’ll benefit most from using a high-quality paper filter. Usually, once the oil cools down, you need to pour it through a paper filter and into a new container – one that you can seal and keep in a cool and dark place until the next use.
If you’re not filtering the oil, you should not be reusing it, especially if you’re frying meat.
5. Time Between Each Frying Cycle
There are two elements when it comes to reusing oil. The first is frying cycles, which basically means how many times you’ve cooked food in it. The second is how much time has passed from the first frying cycle.
Giving guidelines for one without the other is misleading. Therefore, some people should change the oil every day or every other day if we assume that they deep fry meals for breakfast, lunch, and dinner every day. This means that by the end of the second day, they would have used the oil six times.
On the other hand, if we only give information about the frying cycles and say that people need to change the oil after using it six times, we will mislead those who use it very rarely. For instance, some people might deep fry only a handful of times in one month. Does this mean that they should keep the oil for a whole month or more? No, because being exposed to oxygen will degrade the oil with time regardless of how many times it was used.
So, keep this in mind when you’re looking for information online.
6. The Storing Conditions
Finally, another important factor is the storage conditions. If you’re using a paper filter, you’ll need to put the filter oil into a new container and store it in a safe place.
The right conditions for storing used oil include three elements: an airtight container, a glass container, and a cool and dark place.
First, air can make the oil rancid through the process of oxidation and hydrolysis. This is why storing it in a carefully sealed container is essential.
Second, the material of the container can degrade the oil’s quality. Because of this, you should avoid plastic containers because they can release toxins in the oil under certain circumstances. A small glass jar is usually a good idea.
And third, the environment where the oil is stored can make all the difference. If you leave the container in a drawer where the temperature varies, such as close to the oven, this can quickly degrade the oil and make it rancid. Direct sunlight can have the same effect.
Should You Leave the Oil Inside the Deep Fryer?
Some people think that leaving the oil inside the deep fryer is safe. Is this true?
In the last section, we explained the ideal conditions for storing used oil, but what does that tell us about leaving the oil inside deep fryers?
If you think about it, there are two very obvious problems with this idea. First, most deep fryers can’t be sealed – meaning, closing the oil completely. Some oxygen will circulate, which will make it unusable a lot quicker. Second, keeping it inside the deep fryer implies that the oil won’t be filtered, which is a major problem because it might promote bacterial activity. After all, the food debris inside the oil will spoil with time.
But, there are other problems as well. Leaving the oil inside the deep fryer prevents you from cleaning the deep fryer. This is not an issue if it’s a short period of time and a few frying cycles, but leaving it there for weeks while you cook over and over with it is a recipe for disaster.
In fact, you’ll find that the oil will start to become greasier and darker with each use. It will also begin to have an unpleasant smell or even give the food a smoky-like taste to whatever you’re frying. If this happens, you’re already too late, which means you’ve been consuming oil that’s bad for your health.
In a nutshell, you can leave the oil inside the deep fryer a few times, but don’t let this become a habit. It’s not hygienic, healthy, or financially wise, as the oil will go bad a lot quicker than when it’s stored properly.
How to Tell if It’s Time to Change the Oil?
Until now, we’ve been very vague about the exact time that you can reuse the oil or keep it in the deep fryer. However, hopefully, we’ve given you a pretty good idea of why such magic numbers do not exist and could only mislead you. How much time you can keep reusing the oil depends on so many personal factors. Sometimes, you might need to throw out the oil immediately after the first frying cycle, while other times, you can afford to keep it up to a week or two (if you filter it and store it properly).
Some sources online might recommend changing the oil every six months or after you’ve used it ten times. This is bad advice! Frying meat, then leaving that oil inside the deep fryer for six months while you fry other foods on occasions could be dangerous for your health and lead to serious consequences, especially if you don’t filter the oil.
To help you avoid a dangerous situation, let’s not rely on time or dates as it’s never a black-and-white situation. Being able to identify changes in the oil quality, you can predict when it’s time to change it, independent of how many times you have cooked with it. ***
You should change the oil if:
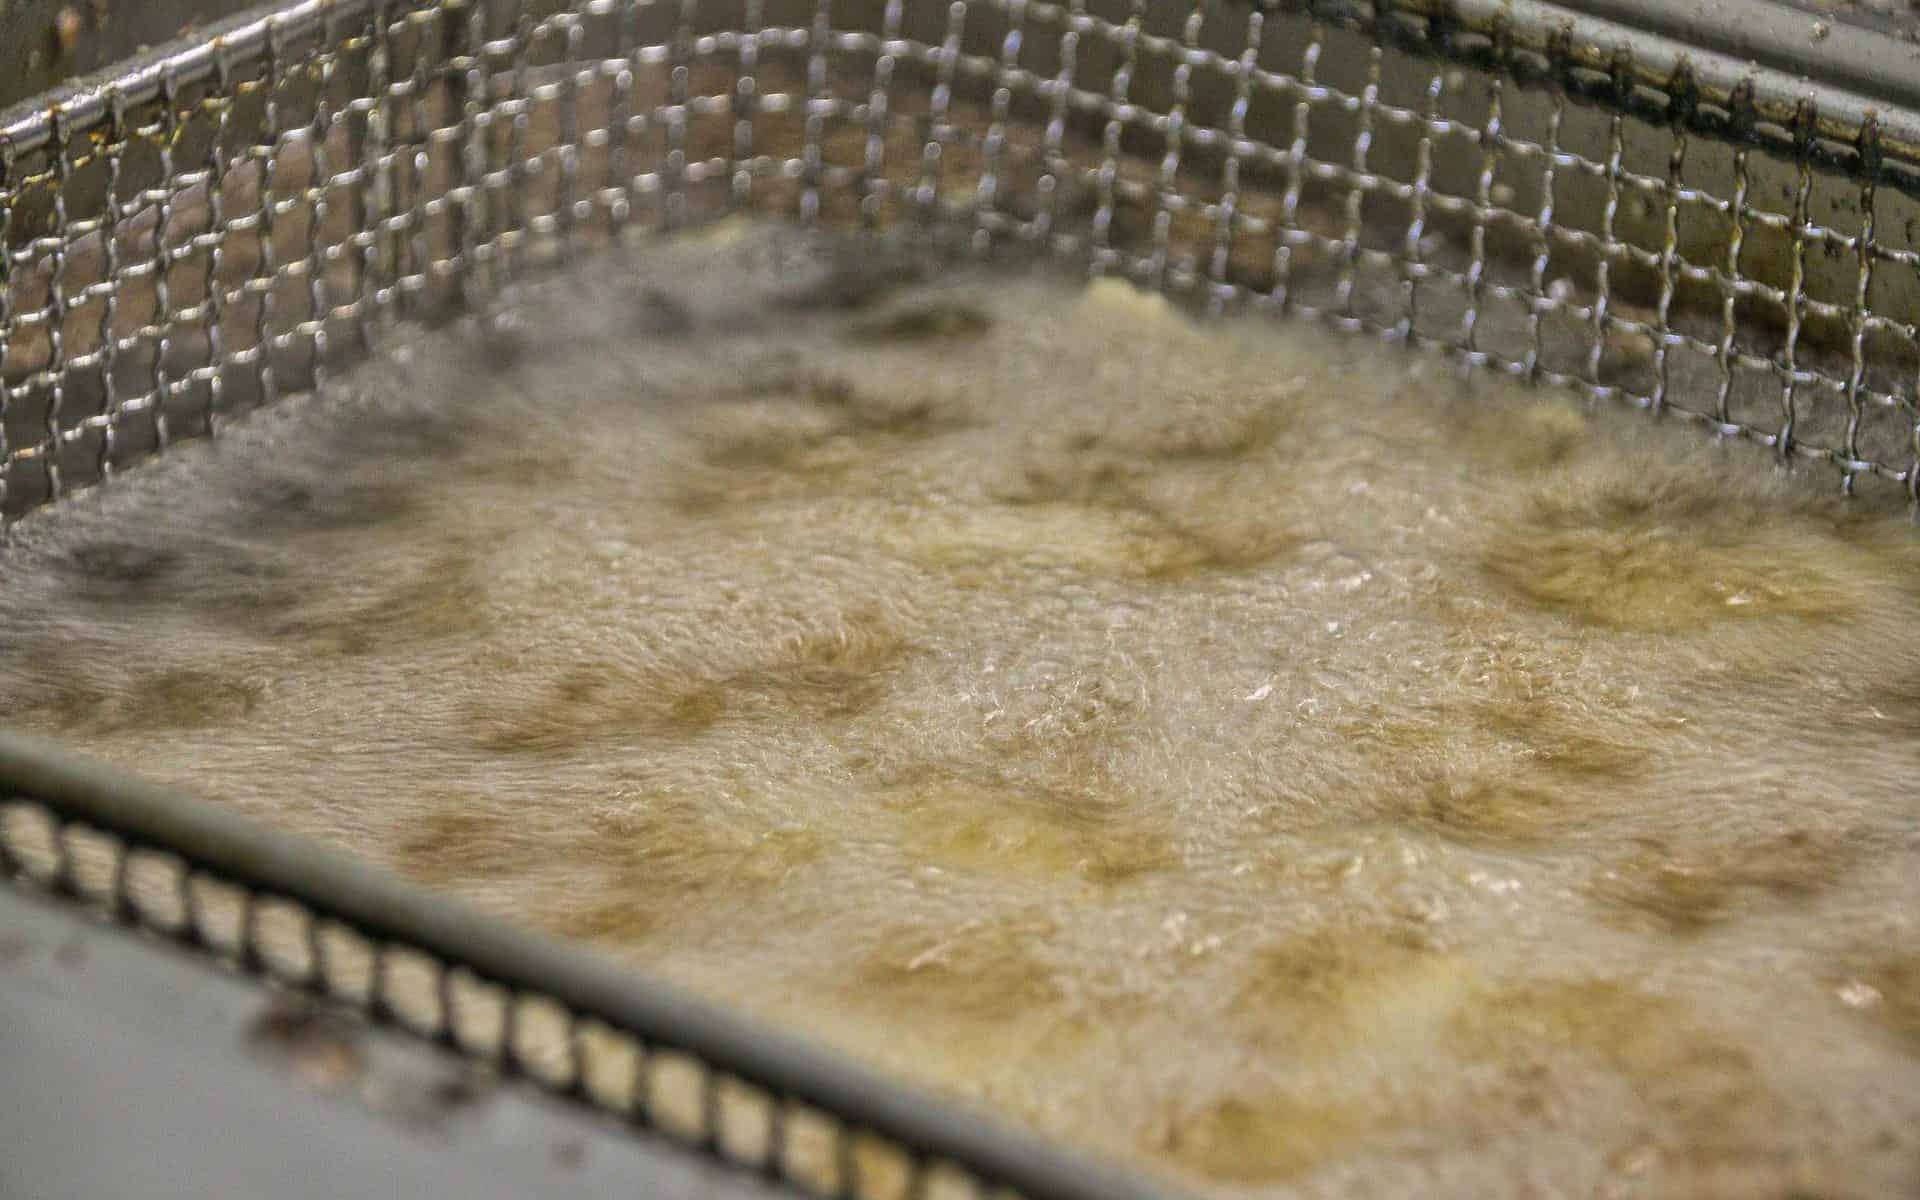
- it produces foam on the surface;
- changes its initial color (becomes darker);
- changes its smell;
- starts to burn quicker than usual (releases smoke that smells burnt);
- the smoke is more pronounced or different in color;
- the food has a weird or unusual stale-like flavor.
*** But please, don’t let that be more than 5-7 times or longer than two weeks – unless you’ve cooked meat. In that case, change it sooner.
How to Change the Oil and How Much Oil to Use?
With our tips above, you can easily develop a system that will allow you to prolong the life and quality of the oil. You can even figure out which foods to cook and when to optimize oil reuses.
This also includes how much oil you use. Most deep fryers have a maximum fill line – do not fill above it! And, if there’s no line, the rule of thumb is to fill it 3/4 at most. The same rule applies if you’re deep-frying in a regular pot.
Once it’s time to change the oil, there are a few things to consider. The whole process is relatively easy, but it could compromise the new batch of oil even before you start frying with it if not done properly.
So, the first thing is to keep your deep fryer clean at all times! Once you drain the oil and you filter it, make sure to clean the deep fryer. Leaving oil residue will make the inside very sticky and full of toxins with time. Eventually, even food residue will start to stick to the sides, which will make the cleaning process that much harder.
Once the deep fryer is clean and neat, it’s ready for your next meal. But, before you pour new oil, let’s talk about the old one.
Disposing of Old Oil
Do not chuck it down the kitchen sink! This is dangerous not only because you’re risking burns but also because it can clog and damage the pipes.
Before draining the old oil, let it cool down completely. Do not touch it until it reaches almost room temperature. You can use a thermometer to be sure, or simply leave it for a couple of hours or even overnight.
Then, and only then, remove it to a safe place from the fryer’s valve. Electric deep fryers usually come with a sophisticated disposal system that will allow you to quickly and safely drain the oil. If you plan to use it again, filter it with paper filters and store it in a glass container. If not, then drain it into any container and throw it out.
Close the drain valve and remove any food residue inside the deep fryer. Read the instructions to see how to clean it properly. Typically, you’ll need to fill the deep fryer with water, add a specially designed cleaner, and let the water boil. However, this might not apply to all deep fryers.
Once you drain the boiled water, scrub with soap or a special cleaner and rinse out thoroughly.
From here on, you’re ready to start frying again with a fresh batch of oil.
Conclusion
You might have been looking for a short answer, but deep frying with oil is anything but simple – from choosing the most suitable, finding the right temperature, and nailing that crispy texture to maintaining your deep fryer and changing the oil at the right time.
Today, we tried to explain some of the reasons why changing the oil frequently is very important and why there isn’t a universal time that applies to all in all situations. But, don’t worry. With our advice and a little bit of experience, you’ll quickly get the hang of it.
The most important takeaway is that oil quality depends on the type of food, type of oil, the temperature, the time between frying cycles, and the storing conditions. If you optimize these factors, you can prolong the life of the oil and use it at least four to six times before you need to throw it out.