As an Amazon Associate I earn from qualifying purchases.
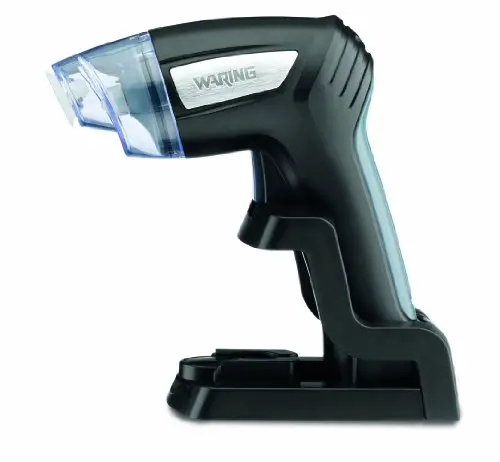
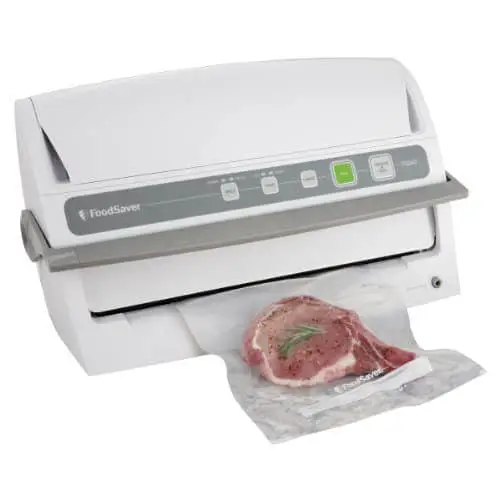
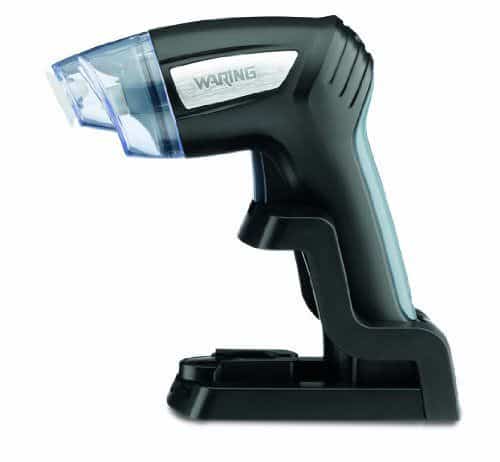
This Warning Pro brand food vacuum sealer is a professional version that uses a pistol style to operate, easily sealing food bags for use later. It is smaller and easier to use than conventional countertop versions and comes at a fraction of the price as well. It includes 12 one-gallon bags and 12 one-quart bags. The heavy-duty NiMH battery is rechargeable which saves money on the purchasing of batteries. There is a charging stand for the battery charger for easy storage.
This device can seal more than 30 bags with one single full charge of the battery. The unit allows you to refrigerate, boil, microwave and freeze in the BPA free bags. There is a five year limited warranty on the motor. The unit is very portable so it can be taken along on hunting and fishing trips or wherever you may roam.
In the reviews, it was stated that the machine is well built and that the bags are heavy duty as is stated in the product description. One review said that the plastic device that comes with the unit to be used for sealing the bags is generally not even needed and that the bags are said to be dishwasher safe but that it is probably best, in her opinion, to just wash them in soapy water. It was seen as a positive that the bags are able to go into the dishwasher, though, should one desire to do so.
Another reviewer said that she uses the unit to seal mason jars and went on to tell how the procedure can be done successfully. Others went on to tell of their creative endeavors using this product for their individual needs.
Some reviewed that they had used the unit for a period of time and that it was still holding up. One said that when pulling air out of the unit, liquid came out as well which was a negative factor. It was mentioned by the same reviewer that the device was a little difficult to clean but that pre-soaking should be helpful.
The device is said to be easy to use and quite convenient with its small size and portability. It was recommended to use the little tool that comes with the unit to seal the bags so you do not injure your fingers and to be sure to press firmly to get a complete seal between the bags and the gun. It was praised that the sealer takes up little counter space and is easy to store as well.
It was also mentioned that cheaper bags could be used instead of the more expensive ones that are available. It was also mentioned that some actually sealed a dish with food inside of it successfully.
At least one review stated that the pistol did not work very well and sometimes not at all. It was not concluded if the device was defective or not. All in all though, most seemed happy with their pistol and said that although they were initially leery of the purchase, it was working better than they had anticipated and they were happy they had made the buy. The price of this unit was a positive mentioned by many.
Click here to view prices on Amazon and find the best deal on the Waring Pro PVS1000 Pistol Vac Professional Vacuum Sealer System.